Just as there are differences in the Operating Systems, there are differences in software firewalls and the way they are implemented.
Basic Firewall Rules: To start with, you deny all inbound traffic unless explicitly allowed and specifically under authorized open ports. It is a good idea to log all denied traffic and the log files checked periodically for any signs of determined effort to bypass your security. Log files serve no useful purpose unless reviewed periodically.
Some commonly used Terms:
NAT – Network Address Translation – This is used to send traffic addressed to outside IP from the local internal network and back. For example if an internal computer with the IP address of 192.168.0.5 browses the Net and sends the request to the server of Targetwoman, the NAT enabled system routes the request to the targetwoman server as if the request emanated from the external IP of our Network and collects the sent traffic from the targetwoman server and returns it to the right machine – 192.168.0.5 – even if there are dozens of machines in the local network.
Packet Filter – The firewall reads each data packet for filtering based on a set of Firewall rules.
DMZ – De Militarized Zone – Has nothing to do with the Army except for the military parlance. A local machine is deliberately set to access the Net for some specific or all ports. For example, if a webserver is running in a local server, it would be prudent to avoid the latency and added burden of monitoring the Web server traffic – in some cases.
Reject/Drop Distinction : If a packet is rejected by the Firewall, it returns “connection refused” error to users who attempt to connect. On the other hand, if a packet is dropped, the Firewall doesn’t send any error message. It may be wise to drop packets to avoid giving a malicious user any clue.
With the preamble as above, we will see how a simple Firewall can be setup using Netfilter and Firestarter.
Depending upon your distro of the Linux, you should have downloaded the RPM package or the source tarball. Goto a terminal and type su ( You must be root to install this ) and proceed as follows:
rpm -Uvh firestarter*rpm
Which should install Firestarter if you have no unresolved dependencies.
If you have downloaded the source file, you will need to do the following:
tar -xvzf firestarter*tar.gz
cd firestarter
./configure
With that out of the way, you can start the firestarter by going to RedHat – > System Tools – > More System Tools – > Firestarter Firewall Tool ( if you are running RedHat 9 )
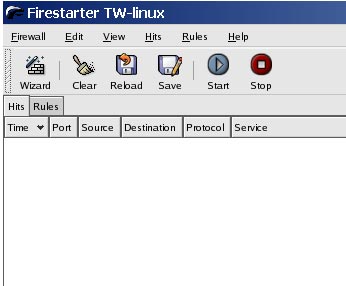
You will be presented with what looks like the image given here:
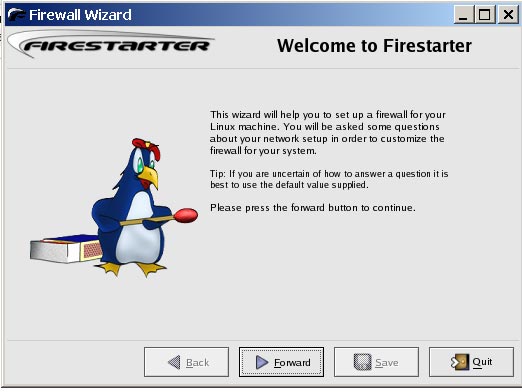
If you are impatient, head for the Wizard and it will set up a basic Firewall using default set of rules, which you can change any time later.
When it starts Firestarter sets a restrictive policy which you can modify in the preferences section. You will have to go to Edit – > Preferences to access this section.

Under General – select Start Firewall on program startup. Under Services, enable only the services you need :
From the Net ( public access) you can provide access to any of the services listed here. SSH may be the only thing you may need to give access if people are required to access the Linux box from outside. Enable as required.
You can enable NAT (Network Address Translation) from the preferences section. Set the internal network device to point to your actual device from the drop down menu. If you are in doubt, check by typing at the terminal:
ifconfig
If you leave the Autodetect internal IP range, it will select the private class C – 192.168.0.0/24.
Select the external device as appropriate and you are done.
Congratulations if you had followed through to this point. You have a firewall running ….
