We have our team working in many parts of the globe and we use many Operating systems both in our computers and hand held devices. We needed a simpler way to weed out duplicate files and have a better version control system. In addition our team members have to access a common area to upload their photographs so that the designers and editors can work on them without individually signing up for multiple storage options.
What we need is a robust cloud system without the hassles of connecting to our central NAS (Network Attached Storage) file server through VPN (Virtual Private Network). In other words, we need a system – easy enough for the novice user whose specialty is not computer science. We have set up considerable amount of storage space in our file server and the only way to access this space was through a VPN. But setting up VPN in all devices for a new comer is a pain – both for the end user as well as for the technical help.
We explored Cloud options both paid as well as free. I summarize what we found at the time of writing this blog.
| iCloud | OneDrive | GoogleDrive | DropBox | OwnCloud | |
| Free storage | 5GB | 15GB | 15GB | 2GB | |
| Paid Storage | 50GB/$0.99/month
200GB/$2.99/month |
100GB/$1.99/month
200GB/$3.99/month |
100GB/$1.99/month
1TB/$9.99/month |
1TB/$10/month | |
| Supported OS | Mac,iOS
Windows Android |
Windows
Android Mac,iOS |
Android
Windows Mac,iOS |
Windows
Mac,iOS Android |
Windows
Mac,iOS Android |
There are many reasons why you need to consider private cloud options:
- Scalability: A simple NAS server with a multiple TB hard drives configured in RAID can easily provide you with humongous storage space. With the increase in the numbers of pixels in Digital cameras and smartphone, you could easily notch up several GBs of photos in a given year. With your own private cloud system you don’t need to worry about exceeding your quota.
- Privacy: To me this reason alone is enough to set up our own cloud space to store our files. Some of our clients have insisted on a Non-disclosure contract which explicitly prohibits storing private files in any public service. If you opt for your own private cloud/file sharing system, you are responsible for the security and you can decide a complete security policy from the ground up.
- Lower Cost: In the long run, your own Cloud space will cost less than any public cloud space – cost per GB per year. Take our own example we have setup 5 TB cloud space and we have not spent a dime on any new hardware or software. We simply configured our existing NAS server to launch a cloud service.
- Control: You get to decide how long a photo remains ‘alive’. Many public cloud services allow you to retain the original photos only upto a certain time limits. Life expectancy of your precious images and files is not under any cloud owing to the cloud service you have opted. You have complete control over your resources. For me it seals the deal.
How-to:
Before we start we make a couple of assumptions – that you have a linux box with internet connectivity and you are comfortable with CLI.
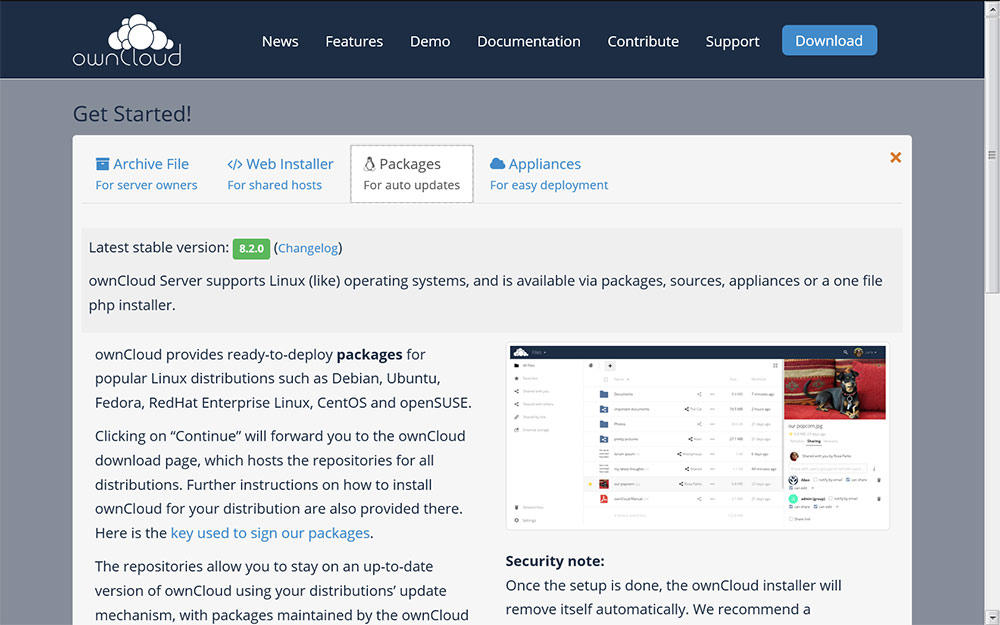
The folks who wrote the documentation at the Owncloud are quite helpful and they have written quite a lot. They provide extensive documents in the form of PDF for the user and administrators amongst others. If you dig into the owncloud directory created at the time of installation, you will notice that there is a ‘README’ file as well.
You would be well advised to wade through these documents for a complete grasp of this cloud.
But as I can assure you one thing: that sometimes even the best of documentation can leave you puzzled for hours for solving the simplest of issues. Trust me – I started my career as a technical writer and in my time, I have written volumes on technical subjects. The first question we ask is ‘Who is the target audience for this document ?’
The rest of the manual will fall in place once we identify the target. How you write for the user manual is completely different from how you write for the service manual. The tone and the language will be vastly different from each other.
Still you will find a common underpinning in both the version – verbiage. It is probably the bane of technical writers. In a valiant effort to make our work as easy to understand as possible, we probably end up using too many words in our narration. The Shakespearean nugget of wisdom – ‘Brevity is the soul of Wit ‘ is probably found in wanting in most documentation.
This page is an attempt to chip away the excess verbiage and present a simple, direct ‘how-to’ to set up your ownCloud server in your linux box and setup any device to access the cloud.
You will find that I had set up access to the owncloud from Windows, Apple Mac mini, iPhone and iPad.
According to the official document –
“For best performance, stability, support, and full functionality we recommend:
- Red Hat Enterprise Linux 7
- MySQL/MariaDB
- PHP 5.4 +
- Apache 2.4”
Whilst at it make sure that you have updated your linux.
There are some dependencies your linux installation needs before you can proceed with the rest of the installation: – mod_php – php-mysql – php-json – php-gd – php-mb_multibyte – php-ctype – php-zip
Owncloud is written in PHP and it needs the recent PHP version. But you need not worry about the dependencies or the version. The package installer will check for dependencies and install any additional requirements.
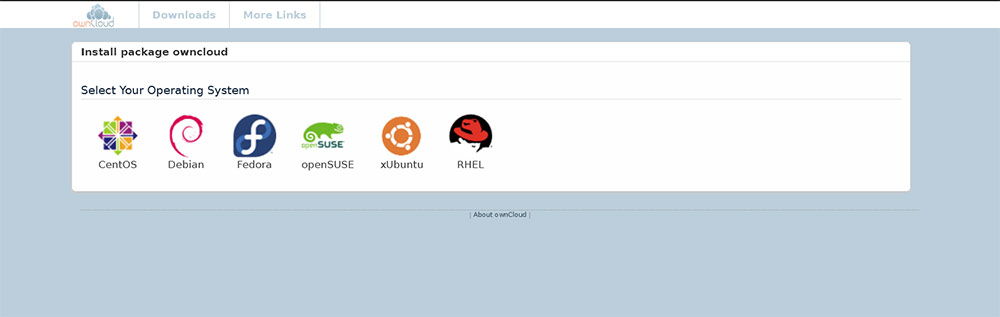
Setting up Owncloud in the Linux Box: We assume that you are on Centos linux. You should select the option from here (https://download.owncloud.org/download/repositories/stable/owncloud/)
- Before you install the cloud, you need to add the following as root from the command line:
[code]
rpm –import https://download.owncloud.org/download/repositories/8.2/CentOS_6/repodata/repomd.xml.key
[/code]
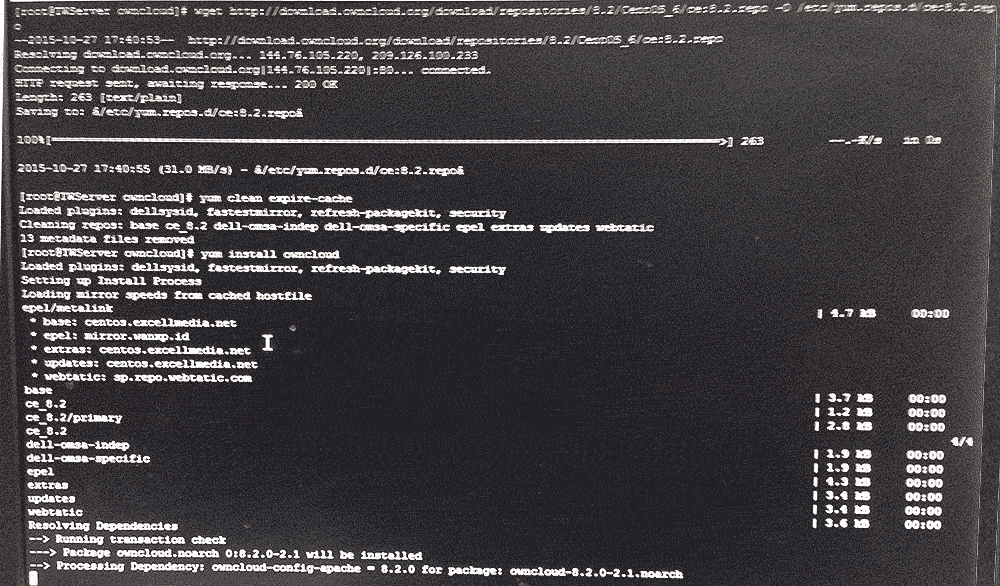
At the time of writing, the owncloud version is 8.2 and so I issued the following:
[code]
wget http://download.owncloud.org/download/repositories/8.2/CentOS_6/ce:8.2.repo -O /etc/yum.repos.d/ce:8.2.repo
yum clean expire-cache
yum install owncloud
[/code]
Once the files are installed you will need to configure the server. You will find a directory called as owncloud in the document root. Start with setting the right permissions like so:
chown -R apache:apache owncloud
And point your browser to the server like this:https://your-server-ip-address/owncloud
You will be presented with this screen:
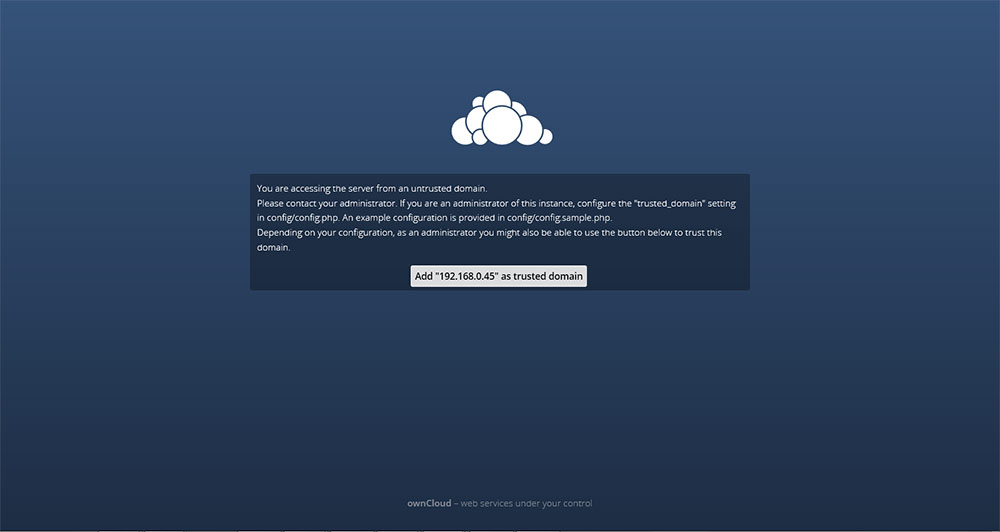
If all is well, you can continue with adding your IP address as a ‘trusted domain’ . Then it will ask you to set your user name and password.
All questions and directives are easy enough to follow without breaking into sweat.
With that you are done and your cloud is up and ready. But you need to create access to this spanking new cloud for all your users’ devices.
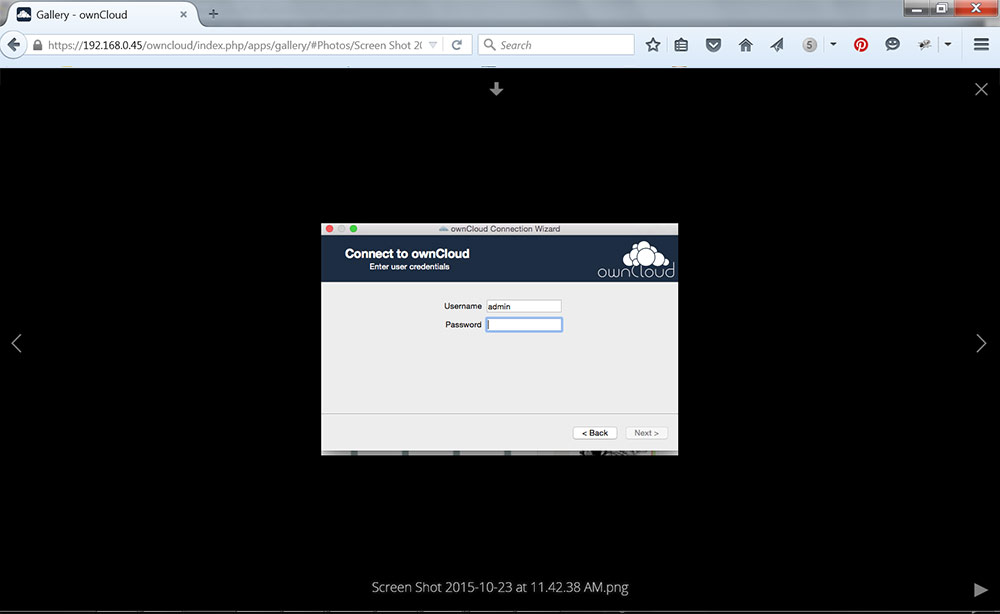
The easiest way is to connect through a browser. Point your browser at the IP address through https.
This is the access from Firefox browser in Windows:
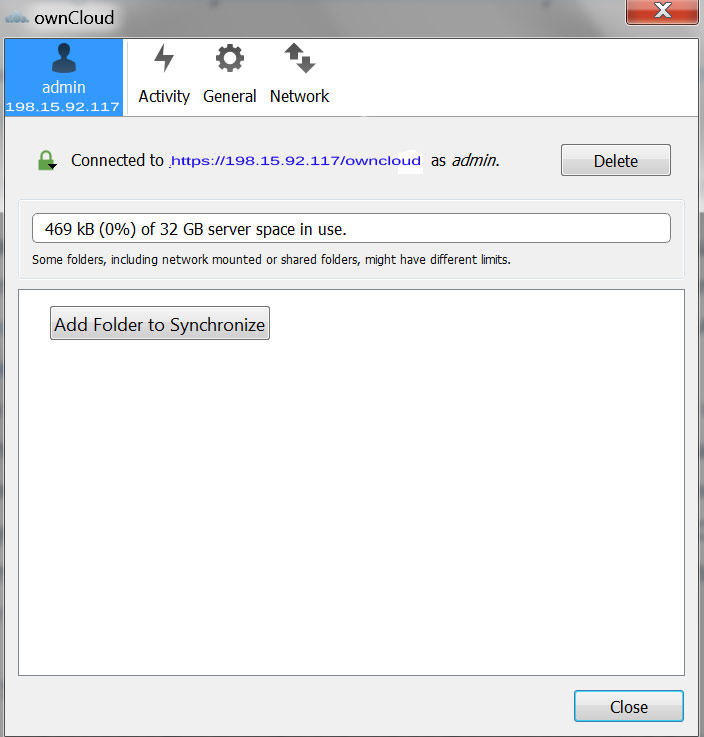
And this screen is from the Windows App provided by OwnCloud:
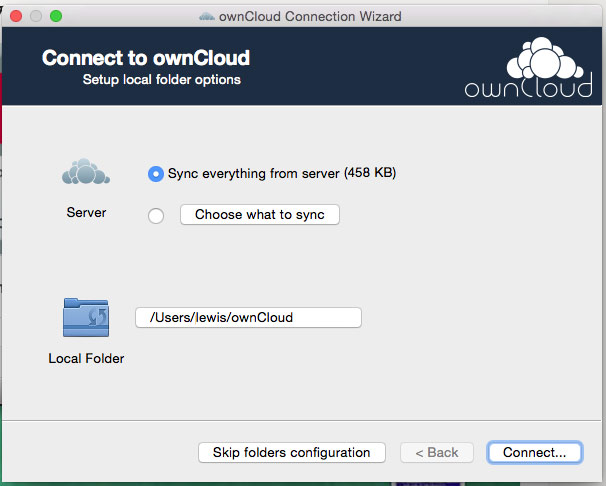
This is from Apple Mac Mini’s App:
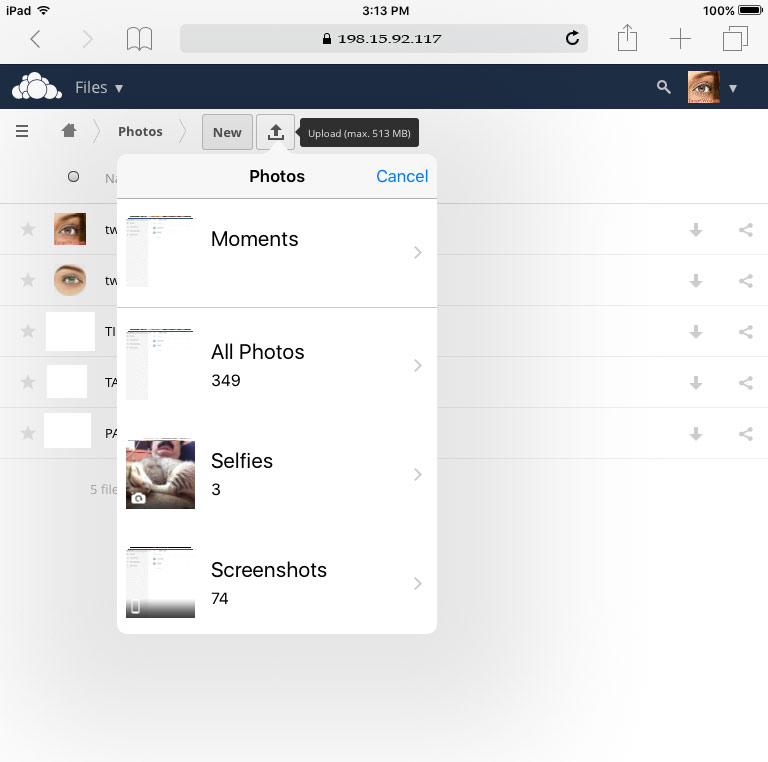
This screen is from an iPad:

You can set up additional users within the same group and they can share cloud space. Supply the credentials and you will be logged into the cloud.
By default, you have 2 directories : Document and Photos. Very convenient, eh ?
You can upload your photos and documents from your portable devices to the cloud. Here is an example of someone getting ready to upload a set of images from an iPad:
That brings us to the end of this page. I will leave you to explore more of your OwnCloud at your own pace.